Quality Control
Quality Control

Dimension Inspection
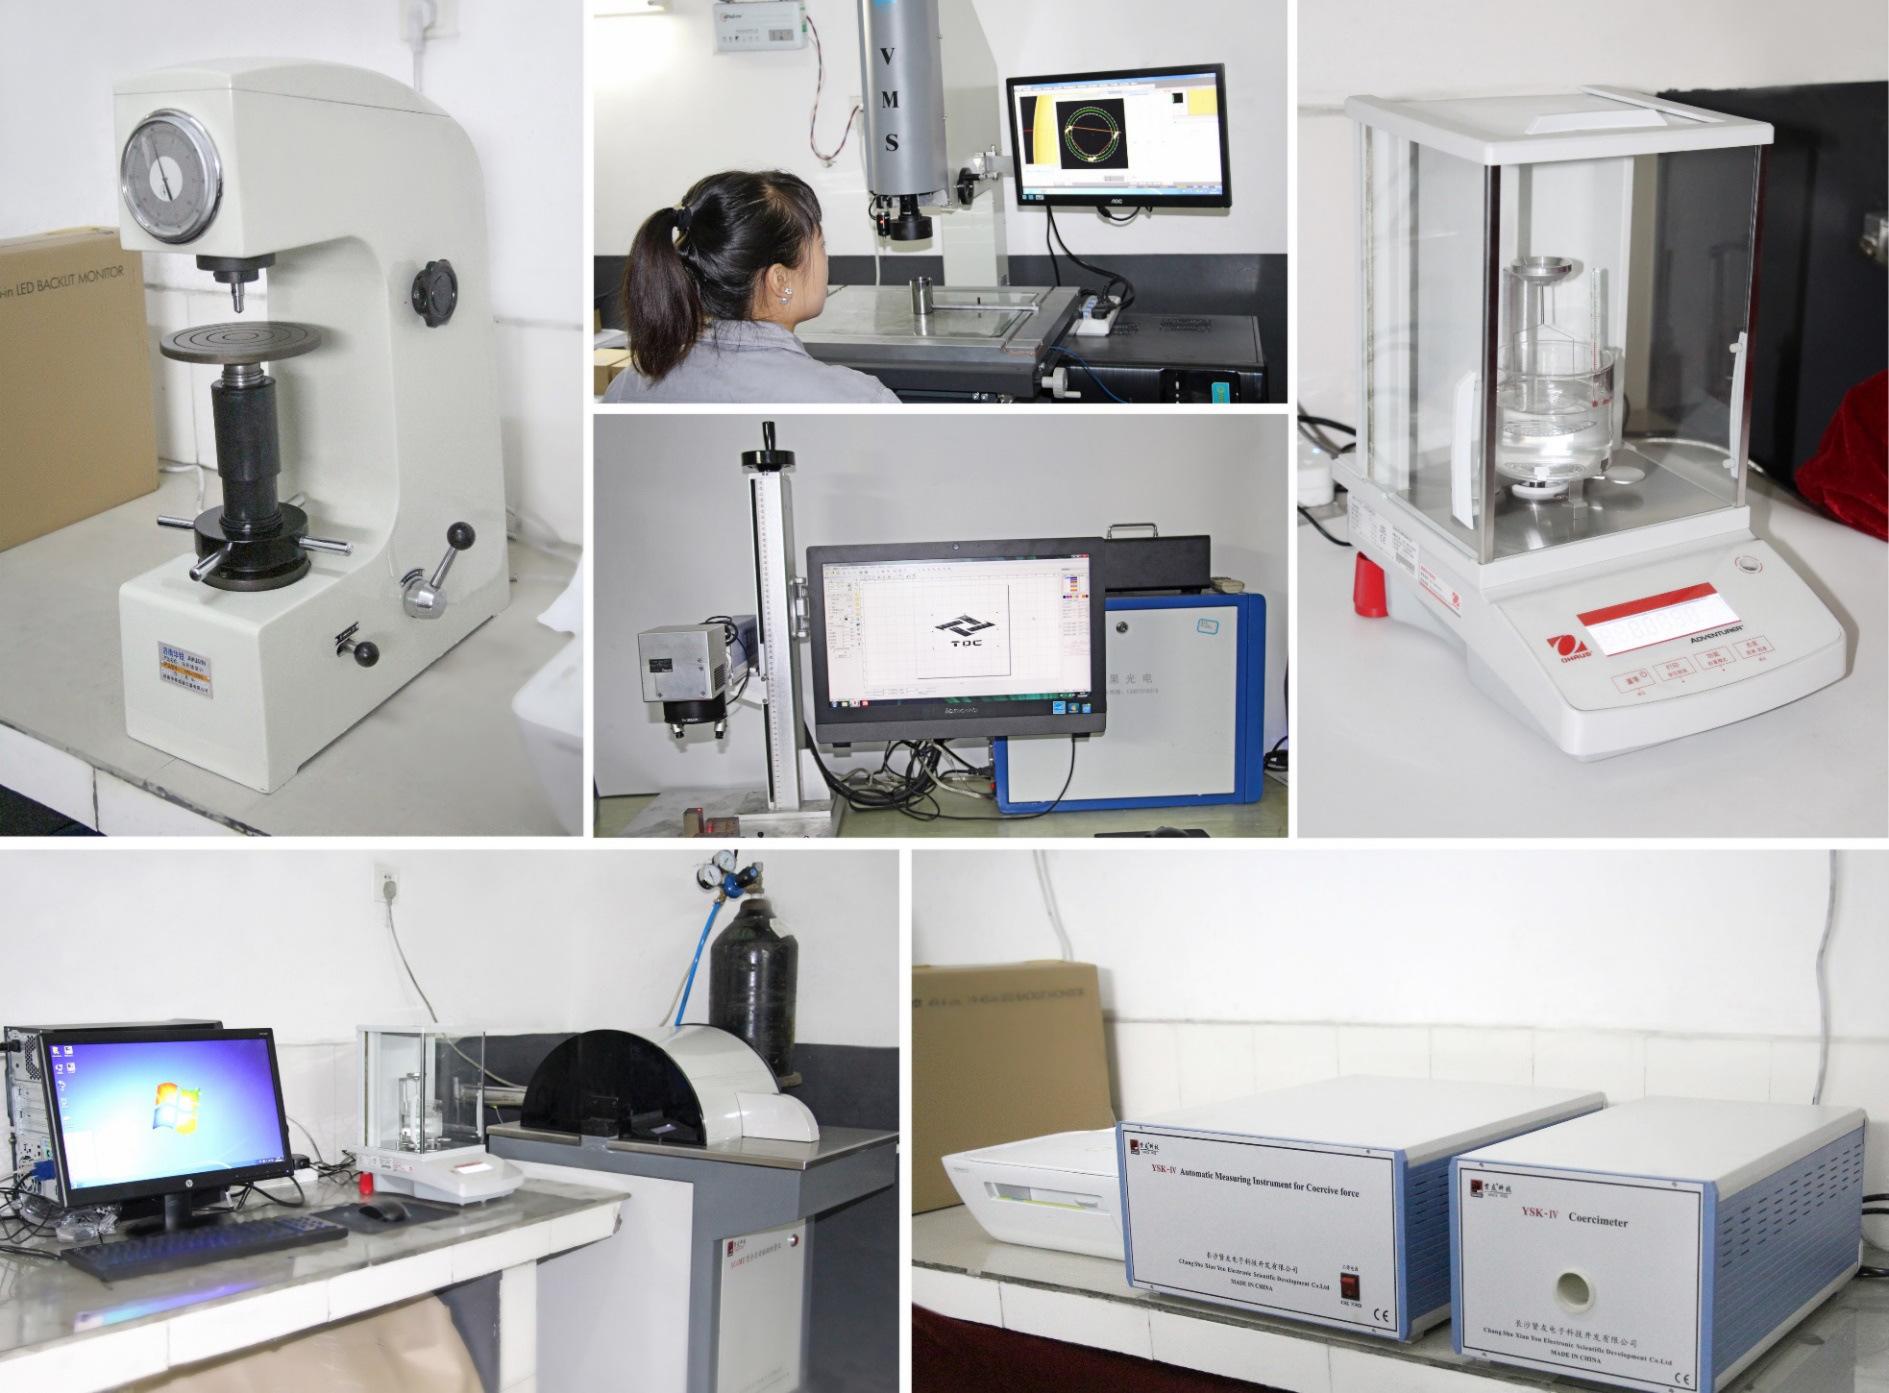
There are 2 types of dimension inspection methods. For standard products, we use mechanical measuring tools like a vernier caliper to measure. For customized products, we utilize a two-dimensional image detector to get product images and then use the measuring software for the measurements.
Hardness Inspection
We use a Rockwell Scale to assess the hardness of our carbide tools.
Density Inspection
Following the Archimedes’ principle, we use a multi-function balance, plus a thermometer and a beaker with a certain temperature, to measure the density.
Coercivity Inspection
Coercivity is one of the characteristics of ferromagnetic materials. The grain size of tungsten carbide can be determined by measuring the coercivity of tungsten carbide. We analyze the coercivity of tungsten carbide products by using a Coercive Force Meter. This specific method is to put tungsten carbide products into the instrument and then use the operating software to perform calibration measurements. Cobalt is the only ferromagnetic material in tungsten carbide products.
Magnetic Saturation Inspection
We use a magnetic saturation analyzer and a multi-functional balance to measure the magnetic saturation of cobalt. The result shows not only the magnetic saturation strength of cobalt but also the carbon content of tungsten carbide. It is one of the key factors to measure the quality of tungsten carbide.
Metallography
By using microscopy, metallographic inspection is applied to measure the physical structure and components of metals. Prior to the observation, sample preparation is crucial. We follow standard steps: cut a small specimen from the workpiece, mount the specimen in resin, grind it, polish it, and etch it, thus ensuring a correct result.
Mechanical Property Inspection
There are 5 main mechanical properties of tungsten carbide:
Flexural strength is a material property, defined as the stress in a material just before it yields in a flexure test. We use a three-point flexural test technique to measure the flexural strength of our products.
Compressive strength is the capacity of a material or structure to withstand loads before failure. We measure compressive strength on a universal testing machine with specific test methods and conditions.
Tensile strength is the maximum stress that a material can withstand while being stretched before breaking. We use a tensometer to measure the tensile strength of our products.
Impact toughness is the capability of the material to withstand a suddenly applied load. The impact toughness of a material can be determined with a Charpy or Izod test. We use a pendulum-testing machine to test the impact toughness of our products.
Fatigue strength is the highest stress that a material can withstand for a given number of cycles without breaking. We mount a material sample into a fatigue testing machine to measure the fatigue strength.
Product Performance Inspection
We have two workshops to test the final performance of our carbide tools. Only in this way, can we get accurate data for the correct application and stable quality of our carbide tools.